Thursday, August 15, 2019

Onward and UPWARDS!

We are FINALLY making the kind of progress I've been dreaming of! We're actually building the timber frame now, and it's SO MUCH FUN.

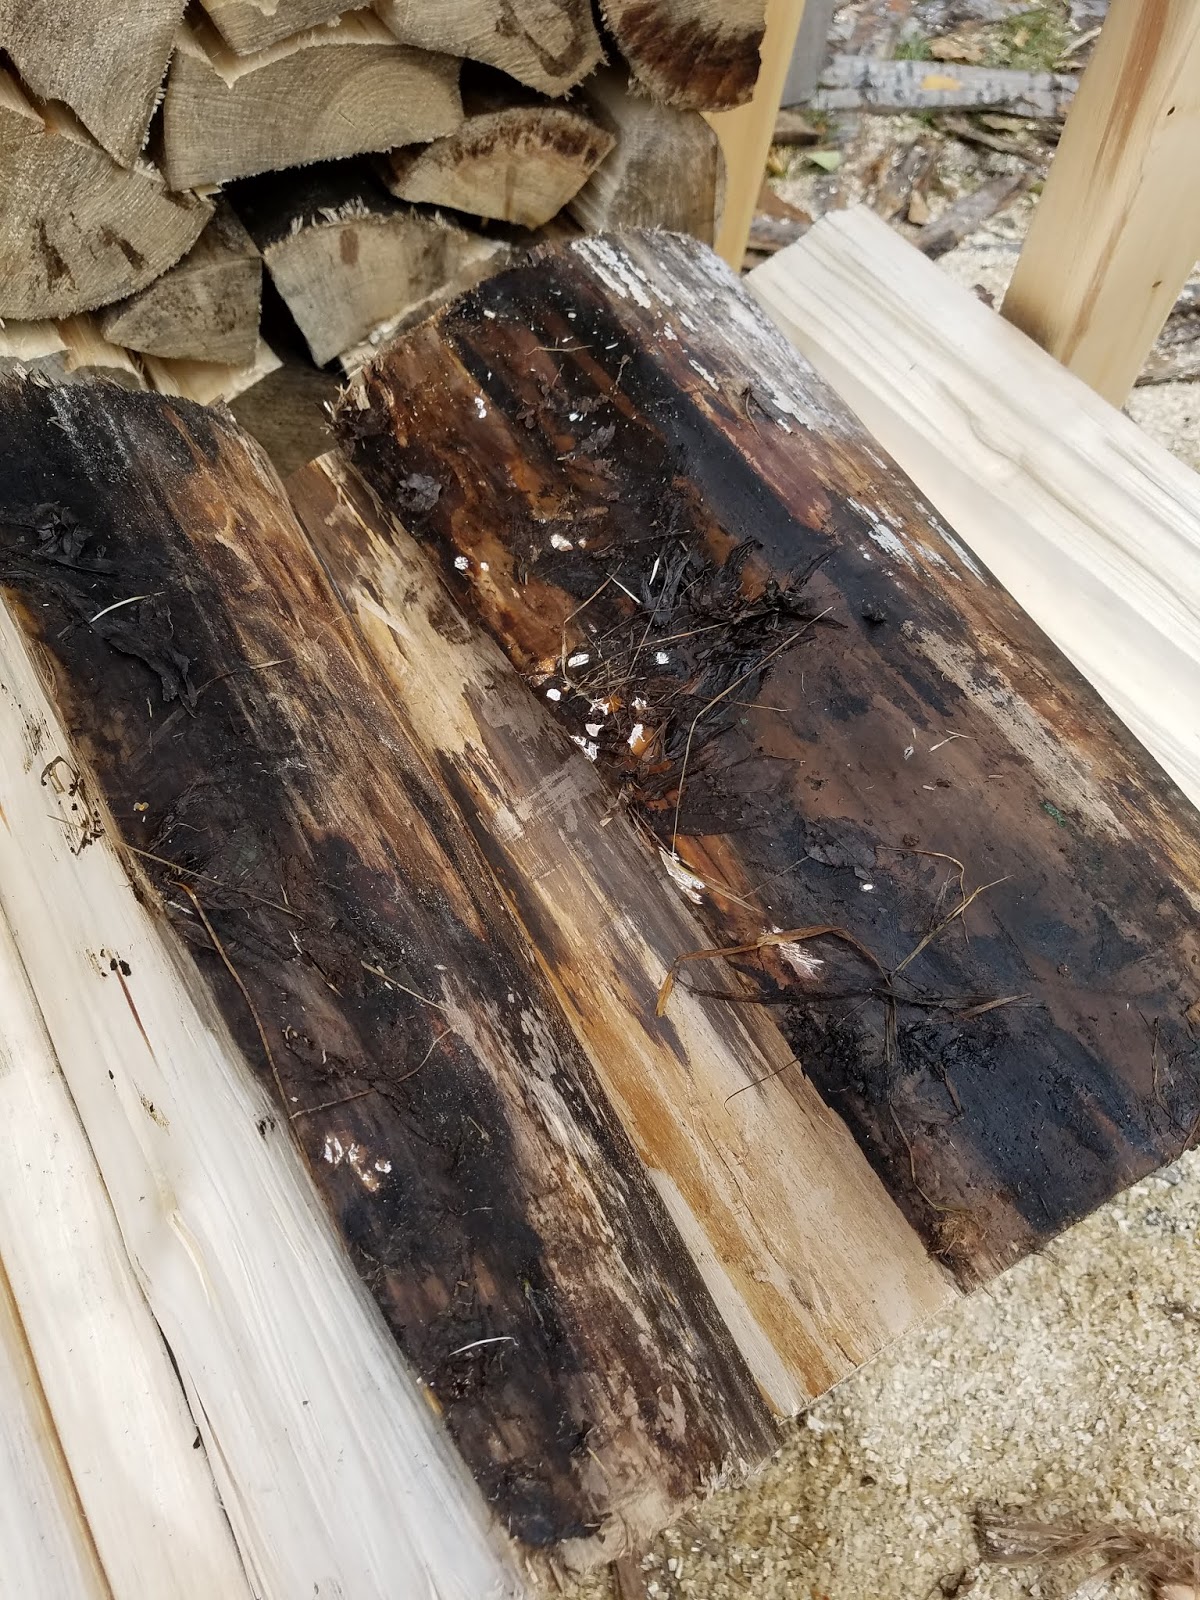
We had a week during which we had to wait for the cement to cure - which was fine because we had timbers to prep.  We got these great timbers for the post and beam frame and they needed to be squared up and notched.

This was both satisfying and NOT.... because we hauled out the old saw bucks and spent several days team hauling one timber (log) at a time and putting them on the saw buck to cut and notch (peel), which felt VERY VERY FAMILIAR (Autumn), and thus not nearly as satisfying as I would have liked.  BUT - it had to be done and still represents progress.


We spent a long time trying to figure out how to square up and trim these 8" x 8" timbers, and finally came upon a tool that was perfect for the job.


We call it the Crazy Saw - it's a skill saw with a chain saw blade, so we have the square capabilities of skill saw, but the depth of cut of a chain saw. It worked REALLY REALLY WELL. We were so pleased - getting the timbers prepped was actually far easier than we first had feared (and I can now speak in hindsight and tell you that they came out just how we needed them).

Scott did the cutting, and I ran the leaf blower to keep the saw dust from building up so he could see what he was doing and get a good straight line.


Then, once the cement was cured, and the timbers were ready....

FIRST POST!!


We are using doubled up 8" x 8" timbers to create the 16" deep posts we need for the walls, anchored to the slab with double angle irons (with an asphalt/mold resistant flashing underneath), and then using pieces of plywood as straps that are glued and nailed to hold the timbers together. Three of them running up the post - on the sides that have cordwood. We didn't use them on the sides that will have windows or doors attached.


In the corners, we are using full round tree posts:


Getting that sucker standing was a serious production! I was driving the digger and pushing, pulling or lifting it with the bucket, while Scott steered or lifted it into place as he needed it. Once they get vertical, they pretty much stand on their own, and are fairly easy to work with as long as you pay attention to what you're doing. We weren't able to get those completely square and had to some shimming and eyeballing to get them straight up and down-ish.

I also got to haul the timbers around and place them at the slab where we needed them with the digger and it was SO MUCH FUN!!


(And saved a LOT of energy, because while the two of us CAN carry those timbers, it's a LOT of work, and we needed that energy to keep on going with the timber raising).


This week, Scott took the week off and has been working with a couple of Rusty's guys while Rusty is in Alaska working on a job, so the timber frame is going up pretty quickly.


We now have all the verticals up and the ridge beams are up, both interior side and exterior side.


Next up is to do the two layers of cinder block around the perimeter, and then Scott will get working on the roof, while I start on the cordwood. It's not fully ideal since we'd rather have the roof done to shelter the cordwood, but we need to take advantage of the building weather while we have it, or we won't get enough cordwood done to be able to button up the house and heat the slab over the winter, which we are told we need to do. We'll keep it well tarped, etc, and get it under cover as soon as we're able.

Plus, we'd like to be able to work on the inside during the winter, when we can't be working on the cordwood. It won't be livable warm in there, but we think we can get it to at least a tolerable working temperature. Then when spring comes, we can finish the cordwood and be about ready to move in hopefully - we still don't know at what rate the cordwood will really go, but we're assuming SLOWLY.

CONCRETE!!!

OMG - I never thought I'd be so damned excited about CEMENT!!!

(Like those conversations you have with your friends now, about who ever thought we'd be so excited about a new washing machine, or really cute DOOR HANDLES!!!)

But I AM - I am so exited about cement, I could pee my pants.  Mostly because I thought I'd be making this post TWO MONTHS AGO!! (1/3 my own lack of knowledge, 2/3 foundation guy)

I mean AUGUST!!!  8/2/19 - the second half of the slab was poured.

WANT TO SEE IT?!?! 


It's so beautiful!!!  And it means WE CAN MOVE FORWARD!  In a week....

We got to watch the second half being poured which was a lot of fun.  It's amazing to watch them work when they get going.  It's an impressive process, it really is.


At the end, we got to add the first little bit of flair to the house.


What he's putting in there is this:


The story here is this - a few years ago I was having a conversation with Scott and Rusty (savior of the Wirsbo and a VERY long running and dedicated outdoorsman)(this will be important later), in which we were discussing the orientation of the house we planned to build someday. I said that I wanted to make sure that it was oriented in such a way that in the evenings when we are relaxing on the deck, I didn't want to have the sun blinding me - which has happened in many of our other places.  They both puffed right up and said very authoritatively that "You want it THIS way, then." Which didn't seem right to me...we'd already owned the property several years at that point, I've seen sunsets before.  "Are you guys sure? I, mean, I've always thought..."

"NO!  This is it, we KNOW, you want it this way. Trust Us." And they were in total back-slapping agreement.

Later, when we were sitting around in the evening, oriented THIS WAY, I shaded my eyes from the blinding sun, and said, "Please explain to me again which way the house should face."

Rusty opened his mouth to explain....and froze. Speechless.  Scott jumped to his defense...and froze. Speechless.

They had been ABSOLUTELY CONVINCED of which direction was north, etc....and had been for years...and were DEAD WRONG.

And to be fair, they're not the only ones...there's something about the angle of the road and the shape of the land that gets people turned around. (Not me...but, you know...others)

So we decided to clear it up once and for all. There will always be a clear guide now.

ALSO??  WE HAVE RUNNING WATER!! A hydrant as been added to the well, and we can now use the water, which is amazing!  We took a hose shower! (We are getting a camping shower that will warm the water!)


Tuesday, July 30, 2019

Finally WE got to do something!!

And we got it done in a DAY!

Hubby had to lean on the foundation guy to get him to come back on Saturday and finish up the foam and rebar he had to do so that we could run the tubing for the in-floor heat, or he would have put us off another week. And it did take some leaning and some guilting, because I happen to have overheard foundation guy arguing with someone else on the phone, who also sounded pretty upset, and who he had promised he'd be out first thing in the morning....I wonder what he told that guy.

Fortunately, he did come back and finished up enough framework for us to do what we needed to.

One of the things we've done to keep costs down is to find contractors who were open to the idea of us doing some or most of the labor and bringing them in for the parts that really require their expertise. Our HVAC guy was completely behind this idea, because that meant we would run the tubing - and he didn't have to. He was thrilled about that, and even drew up a plan for us and gave us all kinds of advice and information.

So, bright and early Sunday morning, Hubby and I got up there and got to work. 


We quickly learned two things:

1) With the deep well footings we have, and the need to extend the tubing out over them on all sides, this was NOT a two person job.  One of us had to be jumping in and out of the trench constantly as we ran the tubing back and forth. (The photo above shows the tubing running along the rebar, but what you see there is about the only place we did it like that - the rest of the way around, we did it so the loops were sticking out over and could be zip-tied to the rebar much easier, and provide much more stability.

2) If we had it to do again, we would have special ordered 300 ft rolls if we'd had to.  When we went to buy the stuff, they didn't have any - they only had 1200 ft rolls, and we thought, "no big deal, we'll just cut it into 300 ft sections, same thing right?  NO. As it turns out, having unwound it all - and then coiled it up again - had created big orange monsters that were not easily controlled. Hence - another reason this wasn't a two person job.  We need one in the trench, one to staple the tubing...and one just to wrangle the damn coil.

Here's the first coil's worth:


See that silver truck up in the left corner there?  That's the cavalry coming in to save the day! Just as we were finishing up coil 1 of 8 and wondering how in the hell we were going to get all that done ourselves, our very good (and very loved and very appreciated) friend, Rusty, showed up to help.

YAYAYAY!!!!

As a THREE person job, it was MUCH smoother, MUCH easier and MUCH MUCH faster. Also, quite a lot of fun.


We got all the rest of it done by late afternoon and still had time for beer and cheese curds at the bar! (Welcome to Wisconsin, y'all)

We did NOT end up following the HVAC guy's plan, and I was a little worried about that, but when he went out to inspect it a couple days later, he said we did a better job than most plumbers he knows, and left us a hat!


We did take the HVAC guy's advice and did NOT try to do the manifold set up at the end of the day. He strongly recommended coming back to do that the next day when we were rested up and had clear heads.  It was good advice - it takes a certain amount of puzzle solving and a LOT of patience to get all those tube ends to line up neatly in a tiny little space and say put.


In the end, we triumphed over tubing and bent them all to our will. (Literally.)


The only thing we did wrong was not taping off the ends of the tubes to keep anything out of there. Fortunately, the HVAC guy did that for us while he was inspecting. And STILL thinks we did better than most plumbers!  HA!

So, all that's left now is for the foundation guy to come back and lay his rebar over the top of the tubing and then POUR THE CEMENT.

After that, he is out of our hair, and the flow of work rests pretty squarely on us, with a little input from the weather.

I'm so excited to finally get MOVING on this!!

July has not been an eventful month

July has NOT been nearly as eventful as we'd hoped.....

Our foundation guy has been taking FOREVER and is about on our last nerve.  We are SO FAR behind, and it's primarily because of him and all the days he's NOT there working, or only works part of the day...or so many reasons that he has.

He finally got his dirt work done and got started on the foam in early July.


In the meantime, Mom helped us with spraying all the logs with Bora-Care.  We opted to go with that instead of making our own Borax solution for a couple of reasons.  Without any water on the property, making the solution and keeping it hot was going to be a problem, and we were just really concerned about the quality of the solution we'd be able to produce. The Bora-Care is much more stable, and was recommended to us by the guy who sold us our timbers and corner posts.  Plus, you can get it with a Mold Killer additive, and we thought that would be a good idea given some of the issues we had in the fall.


We got a little over half of what we'd cleaned sprayed (eight full ranks), before we ran out of solution, so we'll need to get more and do the rest. We're also considering some kind of additional Borax dip or something as we do the final log prep before each session of cordwooding, since this got the ends mostly and not so much of the middle. But we're less worried about that since we're using spray foam insulation rather than sawdust.

At the end of the day, the three of us sat down to have a drink and cool off, and I was surprised to see the rest of my family arriving to throw a birthday party for me.  :)  My mom gets Poker Face of the Year....they were out on the road honking their horns as they pulled into the driveway (four cars worth), and she's sitting there sipping her wine and says absently, "Hmmm...someone must have gotten married..."


It was a wonderful time, and a very very welcome surprise.  It's nice to have some time like that when everything else is not going exactly to plan.

They asked Mom to spike the cake.....


I THINK UR DOIN IT WRONG.

My hubby got me a Dewalt chainsaw for my birthday, and my own present to myself was a little bistro set for sitting in the orchard on a nice day and admiring the beautiful property.


I have since added an umbrella for a little shade and it's just a wonderful place to sit and enjoy the peace and quiet.

Here's another one for the positive column - they came to dig the well in early July!!


No running water yet, just the well, but that's HUGE, and they didn't have to go extremely deep, so they kept within their original quote.  We were a little worried about that - and about the quality of the water, but it seems to be nice and clear, and tastes pretty good.  When we lived out in the country before, our water was orange and smelled and tasted like rotten eggs.

Two weeks later...and they were finally getting the foundation prep to the point where we could come in and lay the tubing for the in-floor heat.  Our narfed off corners stumped them a little bit, and Scott had to help with the construction of the form for those.


I will leave you now with a long view of the house and the property, and remember that things ARE moving along.


Sunday, June 30, 2019

BREAKING GROUND!!

FINALLY - we were able to break ground!!  Nick got his equipment fixed, and the stars aligned and we were able to actually get this project rolling.

MAY 31st - two weeks after we were able to, and about a month after I thought we'd be getting started, we finally broke ground.


Such a pretty sight!!

Nick cleared the building site and started leveling it, but he also finished putting in the driveway.  Last year we had a friend with a bulldozer/shovel combo come in and dig out the end of a new driveway. (The existing one is way too steep, curved, and not very well placed for the new house, so we cut a new path through the woods).

So, we've had rough driveway there and have been using it since last summer, but it was a bear, and there's no way the cement trucks, etc would be able to get in without a real driveway. Our foundation guy assured us they would just sink right into the dirt. (It's probably part of why the well driller couldn't get in when he stopped by on May 20th - ASIDE FROM THE FIVE INCHES OF SNOW).

But Nick plowed us an actual NICE driveway!


And if you look real close, you'll see that he scooped up one of the huge piles of bark and shoved it along to where he was putting all the plowed up sod, etc. YAY!!!

What I don't actually have to show is a photo of the finished driveway, all nicely graveled and everything.  

I think the site prep stuff was about a week's worth of work on the weekends and evenings for him, but he eventually had sand hauled in, and got the site all ready for the foundation guy.


The foundation guy - who's been hounding us since MARCH about when were we going to get this project started because he was all ready to go and had been building special forms, blah blah blah - was now very very busy, and getting him to come out and work on our project has been a little hit and miss. He was supposed to be out one day, but one of his laborers called in sick and the other didn't show up, and then he's been having trouble getting a new guy - and then there's been a lot of rain, etc. BUT - he did finally get out there and get started on the forms so that the plumber and electrician could get in there and do their part.


In the meantime, Scott and I had the satisfying job of moving the fire number to the new driveway!!


Which calls for a celebratory drink


(The Bacardi boxes in the back are not party supplies, they are actually full of bottle logs we'd brought from home to add to the stash at the property)

In the past week, things have FINALLY really gotten moving. Last Wednesday (6/26), the plumber's guy came out and got started on the drains and other stuff that will be embedded in the slab. Part of what makes this so wonderful and exciting is that for the last few weeks, we've been trying to get a hold of the plumber to confirm that he was aware that the project was rolling and find out if he was going to be available at the right time, and he just WAS NOT calling us back. For a little while, we even wondered if we still HAD a plumber - but many people, including Nick, assured us that's just how this guy is, and he always shows up when he's supposed to.  Or sends a minion, as in our case, which is just fine, because said minion was great,


LOOK!! PLUMBING! ACTION! PROGRESS!!

Just this past Friday while we were out there, he was there finishing up. And the electrician came out and did the things he needed to do. And the INSPECTOR came out and checked over everything - and passed us.


On Saturday, the plumbing minion came back and finished up and back filled all his trenches.  This is so exciting to have something so very tangible. I can look at that and say, YES, there's my bathroom and there's my laundry room, and down there is the kitchen sink.

LOOK:


It's starting to actually look like something!!

Next, the foundation guy needs to come back and finish the forms, do whatever else it is that he does and then lay down the foam. When the foam is in place, Scott and I will lay out the tubing for the in-floor heat. Then some inspections, and THEN...cement gets poured!!

I really thought the slab would be such a quick and easy aspect of the project, but it's not - it's a massively complicated process and involves a LOT of coordination (and waiting)(and people). But it's moving and I'm trying to be zen and just enjoy the process. Once the slab is poured and the cement cures, things are much more in our control, and even the rain will be less of an issue because we just have to get the timber frame up and start getting the roof on - once that happens, rain really ceases to be an issue for most of the work unless it's really blowing or something.

So, very soon we are likely to be more or less living out there. And we're doing some things to make that easier.  We rented a porta-potty for the summer - not only for our own comfort, but if we're going to have a lot of people working out there, or even just visiting out there, we really need a decent bathroom option.


You can't really see it in the picture, but it actually has a little crescent moon on the door!

We also have added a nice catio so we can bring the cats out with us, and stop asking our daughter to take care of them all the time.  It was originally a catrium - a kennel just sitting out in the grass, which we thought they would love, and which we envisioned moving around so they could watch the build, etc.  But they HATED it. They hid as much as they could and when we brought them out and put them in there the second day, they just cried and cried.  We knew we had to come up with a different solution.  Happily, it was very well proportioned for the bunk house, and the way it's put together, we just had to remove a couple side panels and stick it over the window and viola!! CATIO.

They are MUCH happier with this arrangement. We are eventually going to teach them how to go outside and come back in when called, so they can have more space.


The next couple of weeks could be a little bit hairy, what with still being at the mercy of tradespeople, and all that. But I still feel like we are on the verge of things really getting going. And in the meantime I have my swings and my wine.

We are so far behind - we were SURE we'd have the slab done early June sometime, and here it is on the eve of July, and it's maybe only halfway there.  A MONTH behind - we could have done SO MUCH CORDWOOD in a month.  *sigh*  It'll be fine. Things happen the way they are meant to, and it will all be fine.

OH!! You know....in all this, I never mentioned that at the end of May we sold one of our buildings downtown. And not the one we live in, either - the one with the crazycakes tenant that was making us nuts. NOT OUR PROBLEM ANYMORE. Plus we ended up with enough cash from the sale to pay off our credit cards and still have a big chunk to put in the bank toward the build. And that's after paying down the loan enough to release that building from it - so now we owe very little on the building we still have. But the real blessing here is to just have all that stress and hassle taken off our shoulders.

Spring Log Prep

I decided to do a separate post dedicated to the log prep so I can use a lot of photos, and description, and it won't get lost in all the other stuff.

If you've read the posts about last fall, you'll know that we jumped in half-assed, and didn't fully know what we were doing, not to mention racing against the freeze. So we ended up with a lot of log piles sitting on the ground, logs getting moldy, wet weather creating a lot of mud and slime, and Poplar's own natural tendency to turn black and slimy all on its own.


I had some real concerns about the condition of the logs we were stacking up, but we didn't have a whole lot of choice - as it was, we finished stacking and covering them in the snow.


Over the winter we have a lot of thought to how we would clean them up, and how we would do the Borax treatment.  We did read about how some people trimmed the ends to clean up before they used them, and as you can see from the photo above, ours would really need that. So that eased our minds about not having gotten to the Borax yet because we'd be trimming off the treated ends anyway.

So this spring we bought a really good quality sliding chop saw (Scott is loving this project because it gives him practically free reign to buy tools).


 We also figured out a set up using a drill with a nylon brush attachment to quickly and easily brush off all the dried crap, slime, ick and dead mold.


It's hard to see in the photo, but that log is a little fuzzy. The brush cleaned it off really nicely.  We tried using just a regular scrub brush at first, but was clear by about the second wagon load, there's no way we could keep that up, even switching off jobs from time to time. So we drove to the Mercantile, and found the nylon sanding pad you see above. It did a nice job, but wore down in the second day.  So, during the week, we went to Menard's and found a brush like this:


That works really slick, and the two we bought have lasted the rest of the job (for this year. More about that later). This is really easy and takes just a couple minutes to buzz off a log and toss it in the wagon for re-stacking.

In some ways, this process seems really stupid and at first I was kicking myself that we were so stupid in the fall, but the more I thought about it, the more I realized that the Poplar was going to do this anyway. Sure, there'd be less mud to knock off, but they were still going to go black and fuzzy, so we would have ended up doing all this anyway, most likely.

Also, as I look at the first rank of logs that we trimmed and cleaned over two months ago, I feel really good about the trimming, because the most those logs have done is turn a little more golden on the ends. So far, they don't look like they are going to turn black again. Now...who really knows for sure. But it kind of makes sense - now that they are dry, and don't have all those fresh sugars seeping out, there's just less stuff to actually TURN black.  We'll see, but I'm feeling pretty good about it so far.

Here's how they look when we're done:


MUCH NICER, YES???

We came up with a pretty good assembly line style of trimming the logs, cleaning them and then hauling off to be stacked.


We even had my mom come up three or four weekends now, to help


(She also helped me put bigger fences around the fruit trees to help protect them from deer, and it seems to be working really well. The orchard looks great.)

For a little while, we had to pull the wagon of cleaned logs either by hand or with the lawn mower to the various places we were re-stacking the new logs. But after about 8-10 ranks moved, we'd cleared enough level ground - AND found out the guy doing the septic could get in around the back end of the stacks (not that he has actually done that yet) - that we were able to start stacking right there, so now we just have to pull the wagon a short way, and everything is working really slick.

We've gotten about half our logs cleaned, and recently, as we've taken stock of just HOW FAR behind we are, we figure we've probably already cleaned at least as many, if not more, than we can actually cordwood this year. So, we've eased up on that project.  We're still picking our way through during this foundation time when there's not a lot else we can do, but we're not in a panic to get it all done before we have to start building. Which is really nice, because I want this project to be a fun journey, not a tense panicked rush.

Yesterday, Mom was out again and we hit the point we'd decided was our hard goal line - the point we had to get to before stopping or slowing down. That was the end of the rank on which we'd stacked all my peace signs. Those being logs that we split specifically to make the shape of a peace sign as an exploded log. (Which just means using the log ends in the same pattern but with mortar in between them to create a peace sign image)


(This is from last year when they were split. I wanted to keep them all together, so as we made them, I put them off to the side. Once we were done with all the splitting, the next time I started a rank, I set them all along the bottom)

With those all cleaned up (and now stacked back on one of the saw bucks so they are available at any time), we believe we have more than enough logs for the cordwooding this year.

The next step is to get them all treated with Borax and let that dry off in the next couple of months while we finish the foundation, timber frame and roof.

We had a nice long conversation about that with the guy who supplied our timbers. He runs a log home company, so he is always in need of protecting logs as well, and he highly recommended Bora-Care.  I know that I've read about that product or similar ones in some of the cordwood books and blogs. Because we still have no water at the property, and were very concerned about how to get an actual Borax solution to properly dissolve, etc...we decided to give that a try and ordered a jug of it. It's more expensive than Borax, yes, but it was only about $120 and will make six gallons worth, which is plenty to do the logs we have ready. We will be doing that next weekend, so when I have some photos and an experience to report - I'll come and add them to this post so it's all in once place.